Ready to Show Off Your New Website? We’ve Got a Canva Template Launch Kit for You and Show You How to Make Full Screenshots!
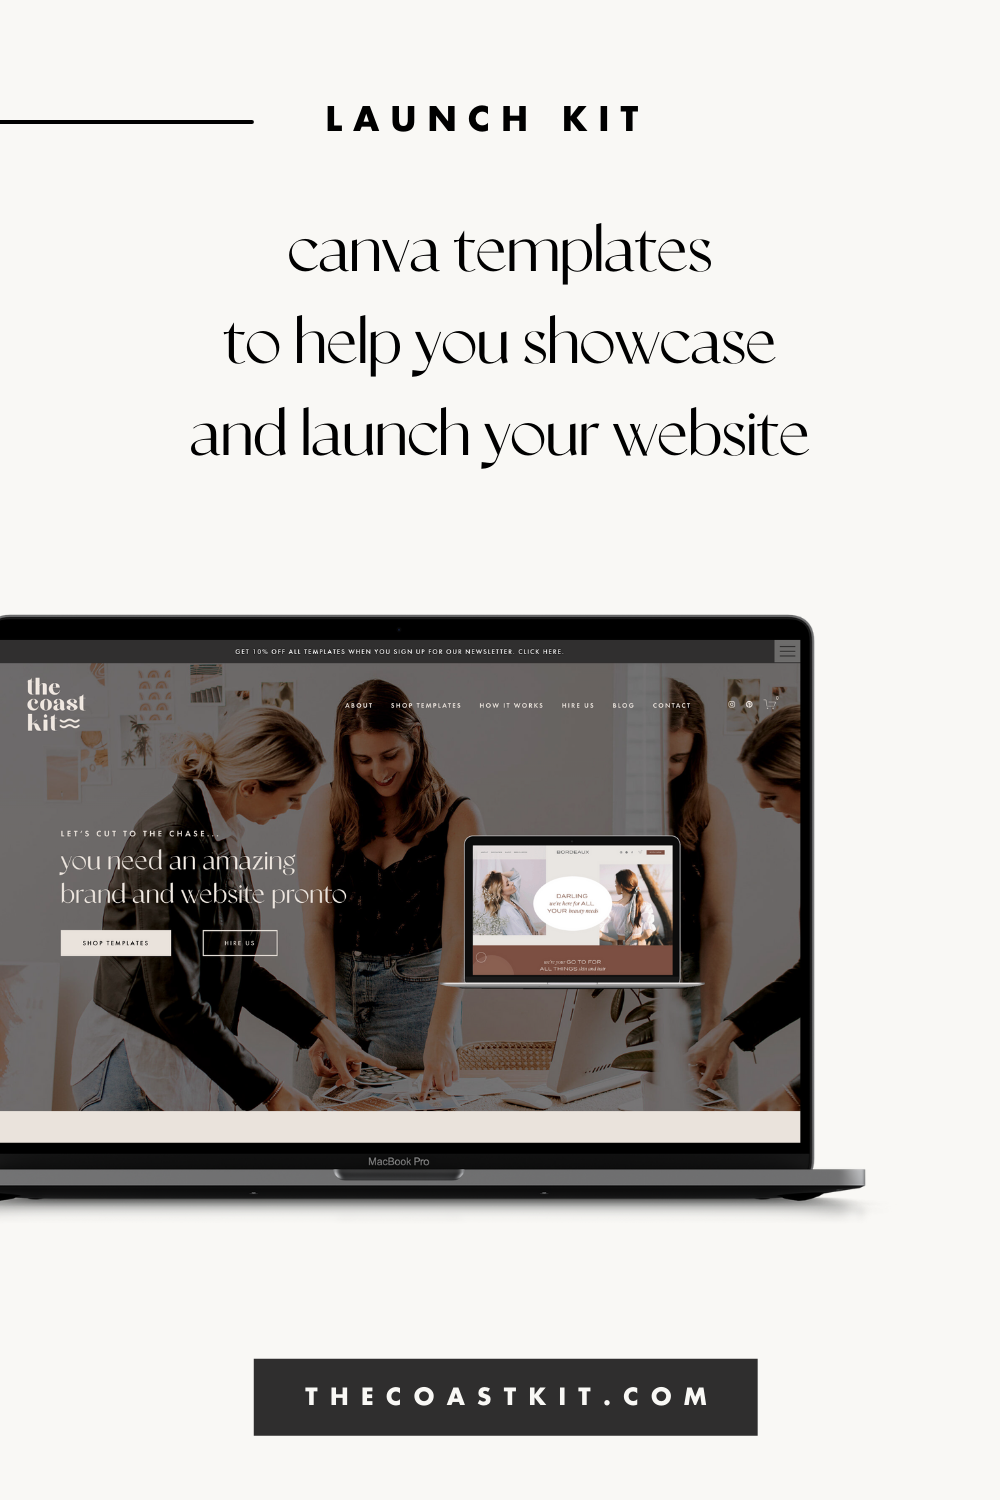
We’re so excited for you to launch your website and we’ve created some templates for you to showcase your hard work! We’ll also show you some tips and tricks in creating screenshots for your website.
Let’s make a screenshot!
OPTION A • STATIC
Step 1. DOWNLOAD CHROME EXTENSION
We’re obsessed with this Chrome Extension called “GoFullPage” and you can add it directly to your browser.
Step 2. LOAD WEBSITE
Go to the website page you’d like to take a screenshot of, we recommend scrolling all the way to the bottom to make sure all of your images load.
Step 3. USE EXTENSION
With the website page open, click the extension button (in your browser tab as a camera icon) and let it work its magic.
Step 3. SAVE PNG
A new tab should open click the DOWNLOAD PNG option and save to your computer.
PRO TIP: If you found the screenshot to not be perfect and missing some graphics, try reloading the webite and trying the process again.
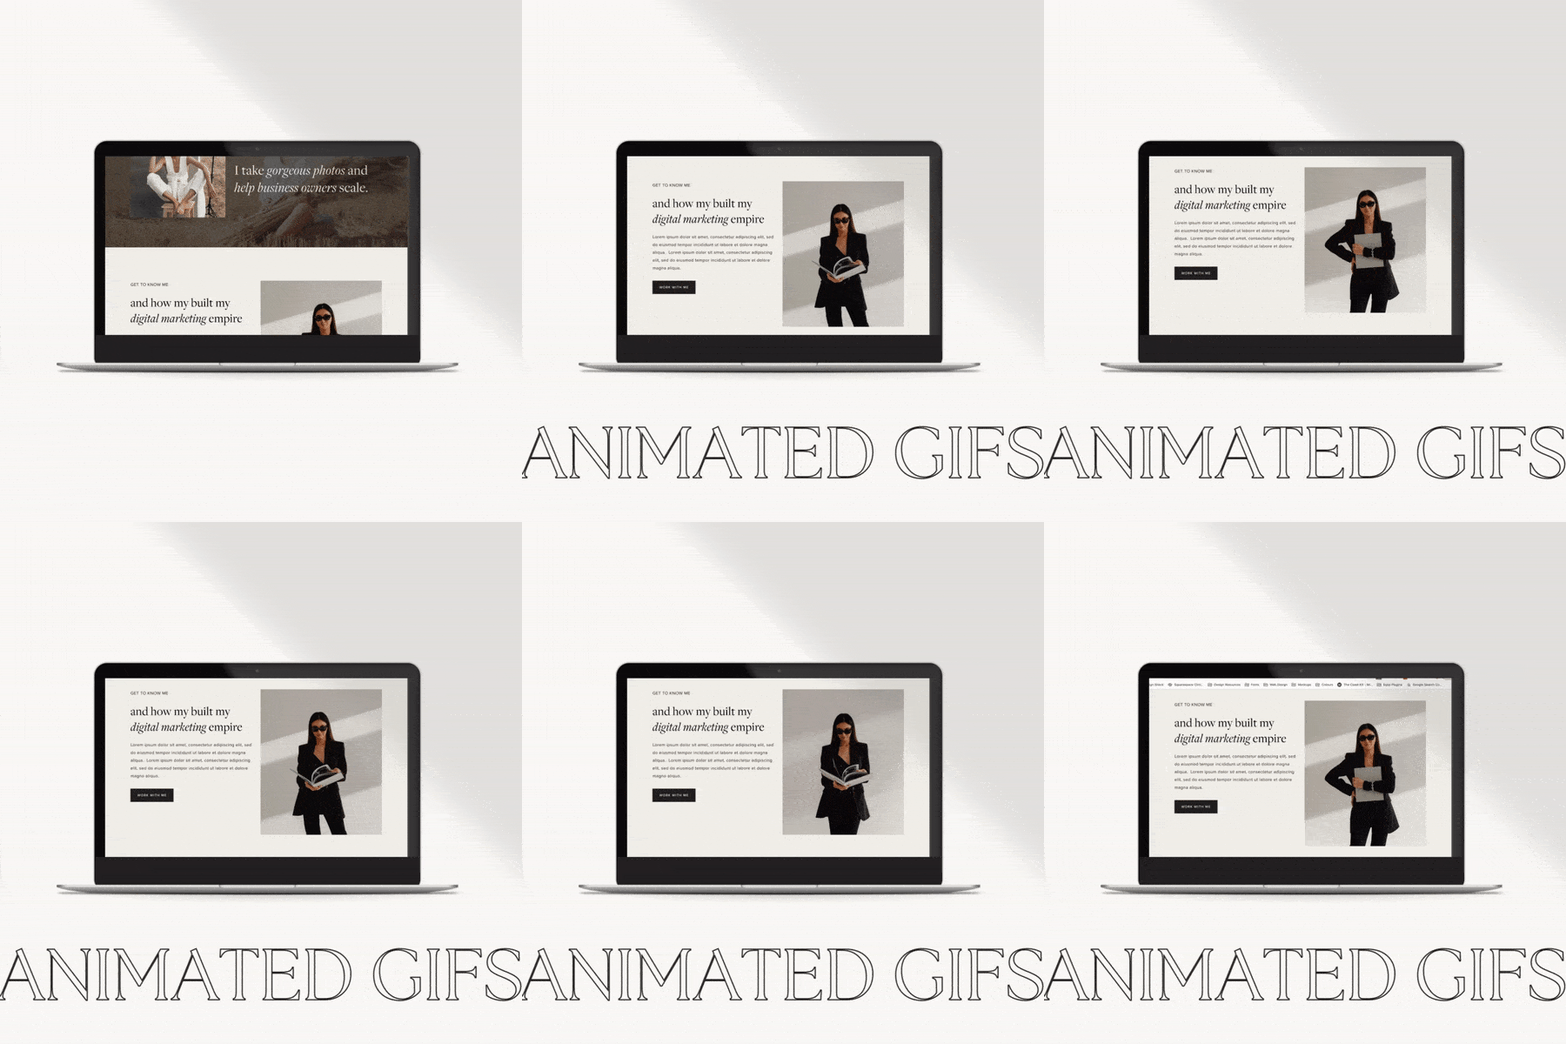
OPTION B • DYNAMIC SCROLLING
Step 1. SCREEN RECORDING
Depending if you use Mac or PC, you’ll want to use the screen recording program.
For PC, here are steps you can follow using Microsoft Stream.
For MAC, you can use the Quicktime application to record your websites.
Step 2. LOAD WEBSITE
Go to the website page you’d like to take a screenshot of, you may not want to scroll through yet so your screen recording can showcase your animations, etc.
Step 3. CREATE RECORDING
You’ll then make the recording and you have the option to crop to only show your browser. We’d also recommend turning off sound. From here, you’ll wan to slowly scroll through your website, and be aware that your mouse will be visible.
Step 4. SAVE VIDEO
Once your recording is complete, you’ll want to save the video to your computer.
Let’s make our templates!
Step 1. Sign up for canva
CANVA is an easy to use, free online program (for those a little hesitant about using Photoshop) however, we suggest getting the PRO version (at least for the 30 day FREE trial) as there are more options (such as downloading transparent images and using custom fonts).
Step 2. SELECT A TEMPLATE (EITHER INSTAPOST OR INSTASTORY SIZE)
We’ve created two different templates for you to choose from (linked below), both with two sizes. Instaposts are for your feed, sized at 1200 x 1200px.
Instastories are for your stories, sized at 1080 x 1920px.
Step 3. UPLOAD EITHER STATIC OR DYNAMIC SCREENSHOT
You’ll then want to upload your screenshot, if you went the static PNG route, it will show up under your IMAGES tab, if you upload the dynamic video, it will be under your VIDEOS tab.
Step 4. REPLACE DESIGN WITH YOUR SCREENSHOT
Drag and drop your new screenshot, feel free to crop as you please.
Step 5. UPDATE DESIGN
Feel free to update the template with your brand colors, typography, url, and photos!
TIP: If you go the video route, you can click your video and using the video editor, you can crop the video.
Step 6. SAVE YOUR DESIGN
OPTION A • STATIC:
Feel free to save this as a PNG, however you can add in some animation elements and save as a MP4 VIDEO to create a more dynamic option.
OPTION B • DYNAMIC SCROLLING:
If you are going the video route, you’ll want to save this as an MP4 VIDEO option to showcase the movement and scrolling!
Step 7. UPLOAD ONLINE + TAG US
We always love seeing what our clients have down with our templates, feel free to tag us on Instagram @thecoastkit.
Launch Templates
Looking to make a strong first impression with your website?
Our Squarespace website templates may be the right fit for you! Our DIY option allows you to play and plug your content and get you launched pronto!

