How to Remove Header and Footer with Custom Css Squarespace 7.1 and Squarespace 7.0
For the most part, you’ll likely want to keep your header and footer on the majority of your website pages. This allows users to guide themselves throughout your website, but there are a few instances where you may want to hide them, and can even add in a full section with new branding, etc.
Some great examples are cover pages, sales pages, coming soon pages, landing pages, and freebie opt-ins!
Keep in mind, all styling such as colors/fonts can’t be updated on one single page without quite a bit of coding knowledge!
In this blog post, we’re going to teach you how to remove the header and footer with a little bit of custom css.
In order to do so, we’ll have to add a bit of code to your website, but we promise, its very easy to do so with a simple copy and paste!
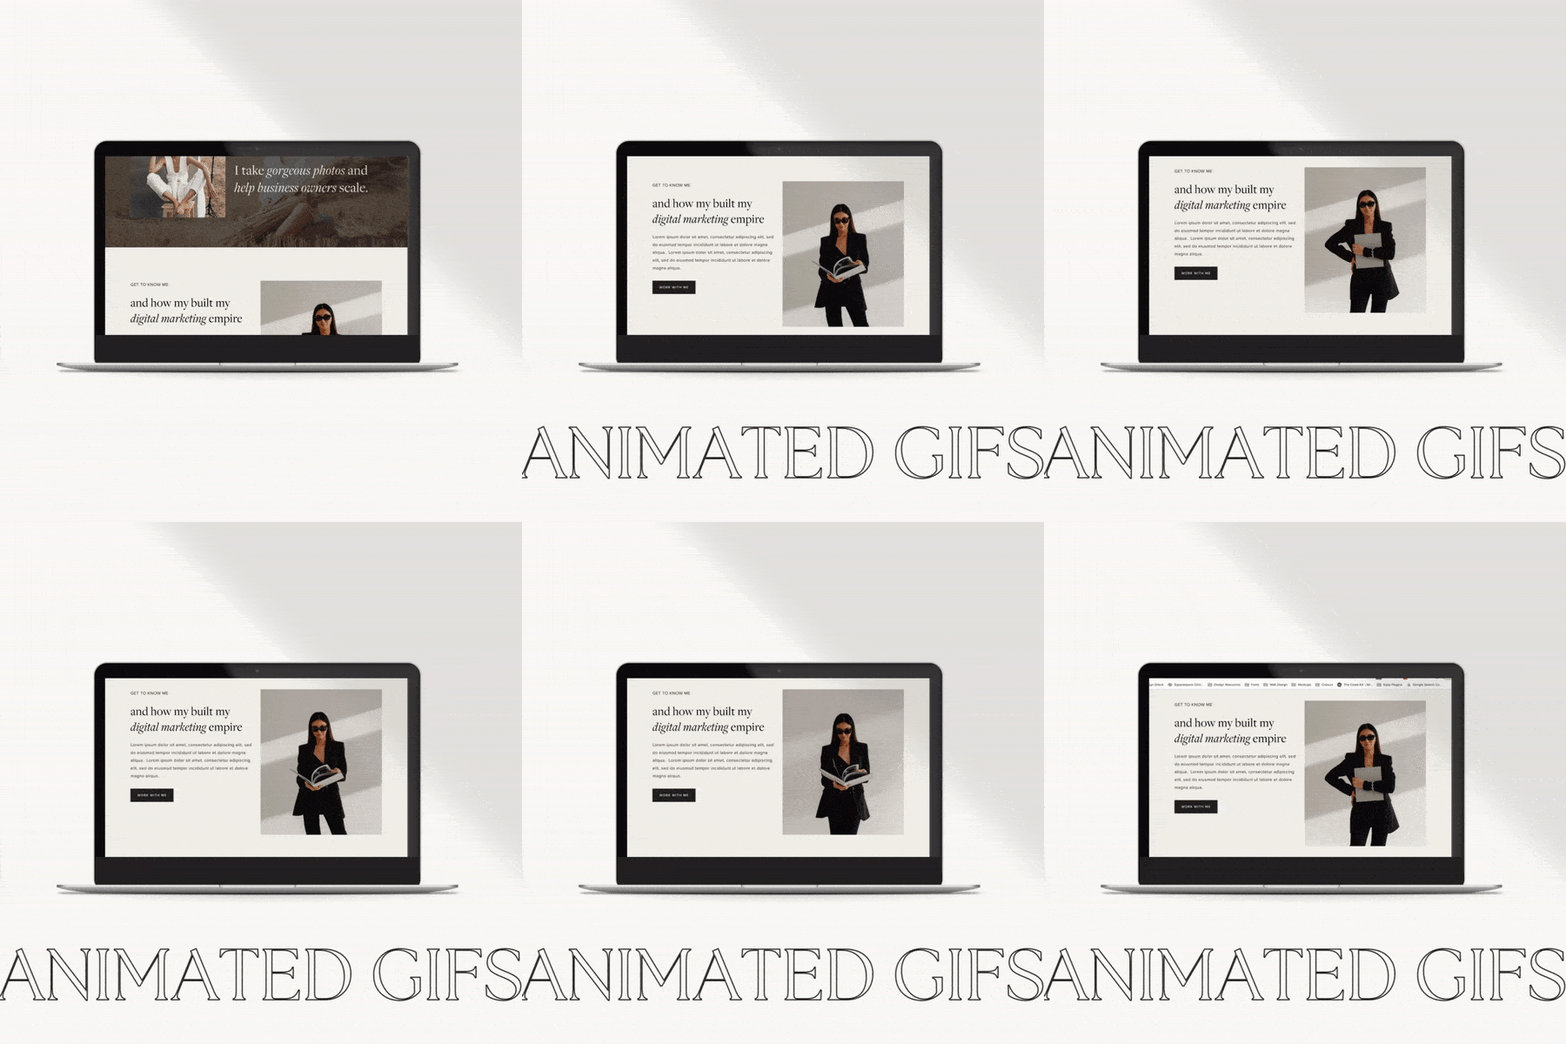
To do so, access the Cover Page settings by clicking the “gear” icon next to your page in the the NOT LINKED section. Go to the Advanced tab and add the following snippet of code by copying and pasting the below code into your website (as shown in the video below):
SQUARESPACE 7.1 CODE
<style>
  #header{
    display: none !important;
  }
  #footer-sections{
    display: none !important;
  }
</style>
SQUARESPACE 7.0 CODE
(BRINE TEMPLATE FAMILY)
<style>
.Header, .Footer
{display:none !important;}
</style>
We hope this tutorial was a helpful one, and if you have any questions, don’t hesitate to reach out to our team here!
LOOKING FOR ADDING A COVER PAGE TO SQUARESPACE 7.1? HEAD HERE!
Looking to make a strong first impression with your website?
Our Squarespace website templates may be the right fit for you! Our DIY option allows you to play and plug your content and get you launched pronto!


