How to Easily Create a Cover Page (or Coming Soon or Landing Page) in Squarespace 7.1
We’re all big fans of Squarespace’s new 7.1 version, but there are definitely a few great features missing that we loved in the OG 7.0 😎 Although we love both versions of Squarespace the same for so many different reasons, which you can read about here, one of the features we miss so dearly from Squarespaces 7.0, is how easy it was to add a Cover Page to your site while it’s under-construction (or to create hype for a launch too).
LOOKING FOR ADDING A COVER PAGE TO SQUARESPACE 7.0? HEAD HERE!
In this blog post, we’re going to teach you how to easily create a Cover Page for your 7.1 Squarespace website like a pro - and we’ll teach you a bit of CSS code too!
So, what exactly is a Cover Page and what can it be used for?
A Cover Page (aka. Landing Page) is simply a stand-alone web page created specifically for the purpose of presenting information with the ultimate goal of converting visitors into leads. Landing pages are used for a wide variety of purposes from promoting a product or service or simply as a placeholder to engage with website visitors while your website is currently under construction.
With Squarespace 7.0, it was really simple to jump right into the editor & add a Cover Page to your website (find out how to here), however, things look much differently with Squarespace 7.1, and if your wanting to easily add a Cover Page on a 7.1 website, WE’VE GOT YOU COVERED (keep reading below!)
Let’s get started and teach you how to Cover Page to your Squarespace 7.1 website
Step 1. Set up your page
We first need to create the Cover Page in your Squarespace website, which will start as just a regular blank page (we’ll be adding a coverpage to our MILANO Website Template in our example below)
Simply log into your Squarespace website dashboard and head over to the Not Linked section in the Pages menu. Then you’ll want to create a new BLANK page. Feel free to name the page as you normally would. You’ll then want to EDIT the page, and create a new PAGE SECTION. Next, you’ll want to edit the PAGE SECTION (by clicking on the pencil editor) and ensure the section Width and Height is set to 100%. Save your changes once complete & we’ll move onto the next step!
Step 2. STYLE YOUR PAGE
You’ll then want to style your coverpage and make it attractive (and on-brand) for your potential clients! You can play around with the background colour in the page section editor, or you can upload a background image too (as shown in our example below). Options are endless in regards to Cover Page styling with Squarespace 7.1 as we are no longer limited to the “Cover Page Templates” from Squarespace 7.0! (Yipee!) 🙌
You can divide your page using spacer blocks, add in an early subscriber form (and link to an email-marketing platform), add in headline & body text & any content blocks as you wish!
You can even use this cover page as a “link in bio” page for Instagram, and perhaps add a short intro about your business with button links to follow!
In our example below, we’re creating hype for our website that’s under construction and asking potential clients to subscribe to be the first to hear about the launch!
Important Note: Your new Cover Page uses the global site’s styles for fonts, colors, images and buttons. This is something to be mindful of, as unlike Squarespace 7.0, the style settings you change for your Cover Page can potentially impact other pages on your website if you are modifying universal style settings used elsewhere.
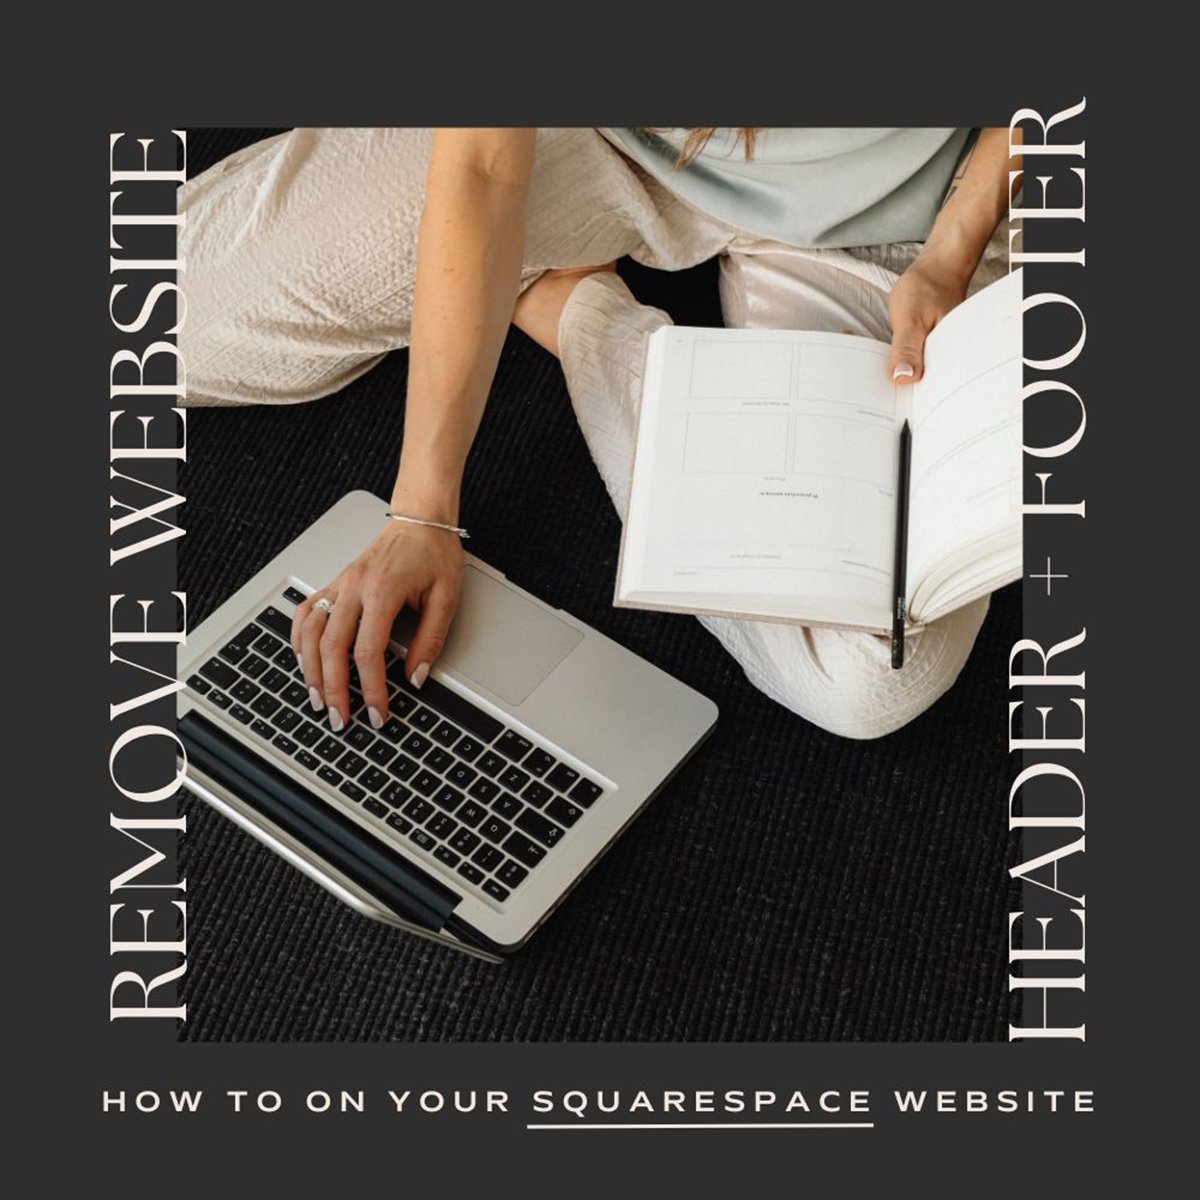
Step 3. HIDE THE HEADER NAVIGATION AND FOOTER USING CSS CODE
With a Cover Page, you likely wouldn’t want your Header or Footer to be displayed (ie. if this is a “Coming Soon” landing page, you want to ensure visitors don’t have the ability to navigate through your website as it’s under construction!)
In order to do so, we’ll have to add a bit of code to your website, but we promise, its very easy to do so with a simple copy and paste!
To do so, access the Cover Page settings by clicking the “gear” icon next to your page in the the NOT LINKED section. Go to the Advanced tab and add the following snippet of code by copying and pasting the below code into your website (as shown in the video below):
<style>
  #header{
    display: none !important;
  }
  #footer-sections{
    display: none !important;
  }
</style>
Step 4. SET PAGE AS HOMEPAGE
This step is totally dependant on what you are using your Cover Page for. If you are using this page as an “Under Construction” page, for example, then you’ll want to ensure you set this page to your active Homepage.
Go to page settings and scroll down to the General tab. Click the “Set as Homepage” button & VOILA! Your Coverpage will now be the first page website visitors will see!
Overall, as you can see, there are always ways around building old features such as setting up a Cover Page from Squarespace 7.0 into your new Squarespace 7.1 website.
We hope this tutorial was a helpful one, and if you have any questions, don’t hesitate to reach out to our team here!
Looking to make a strong first impression with your website?
Our Squarespace website templates may be the right fit for you! Our DIY option allows you to play and plug your content and get you launched pronto!


